
VPNs are more confusing on Windows than on a phone, because Windows has two completely unrelated things both called "VPN" — and the VPN page in Windows Settings is usually empty even while your VPN app is running. This guide covers turning one on, changing it, turning it off, and the single most-searched Windows case: "the internet dies when I disconnect the VPN."
We write this as the team that builds a Windows VPN app — the mechanics below are the same ones our desktop app uses.
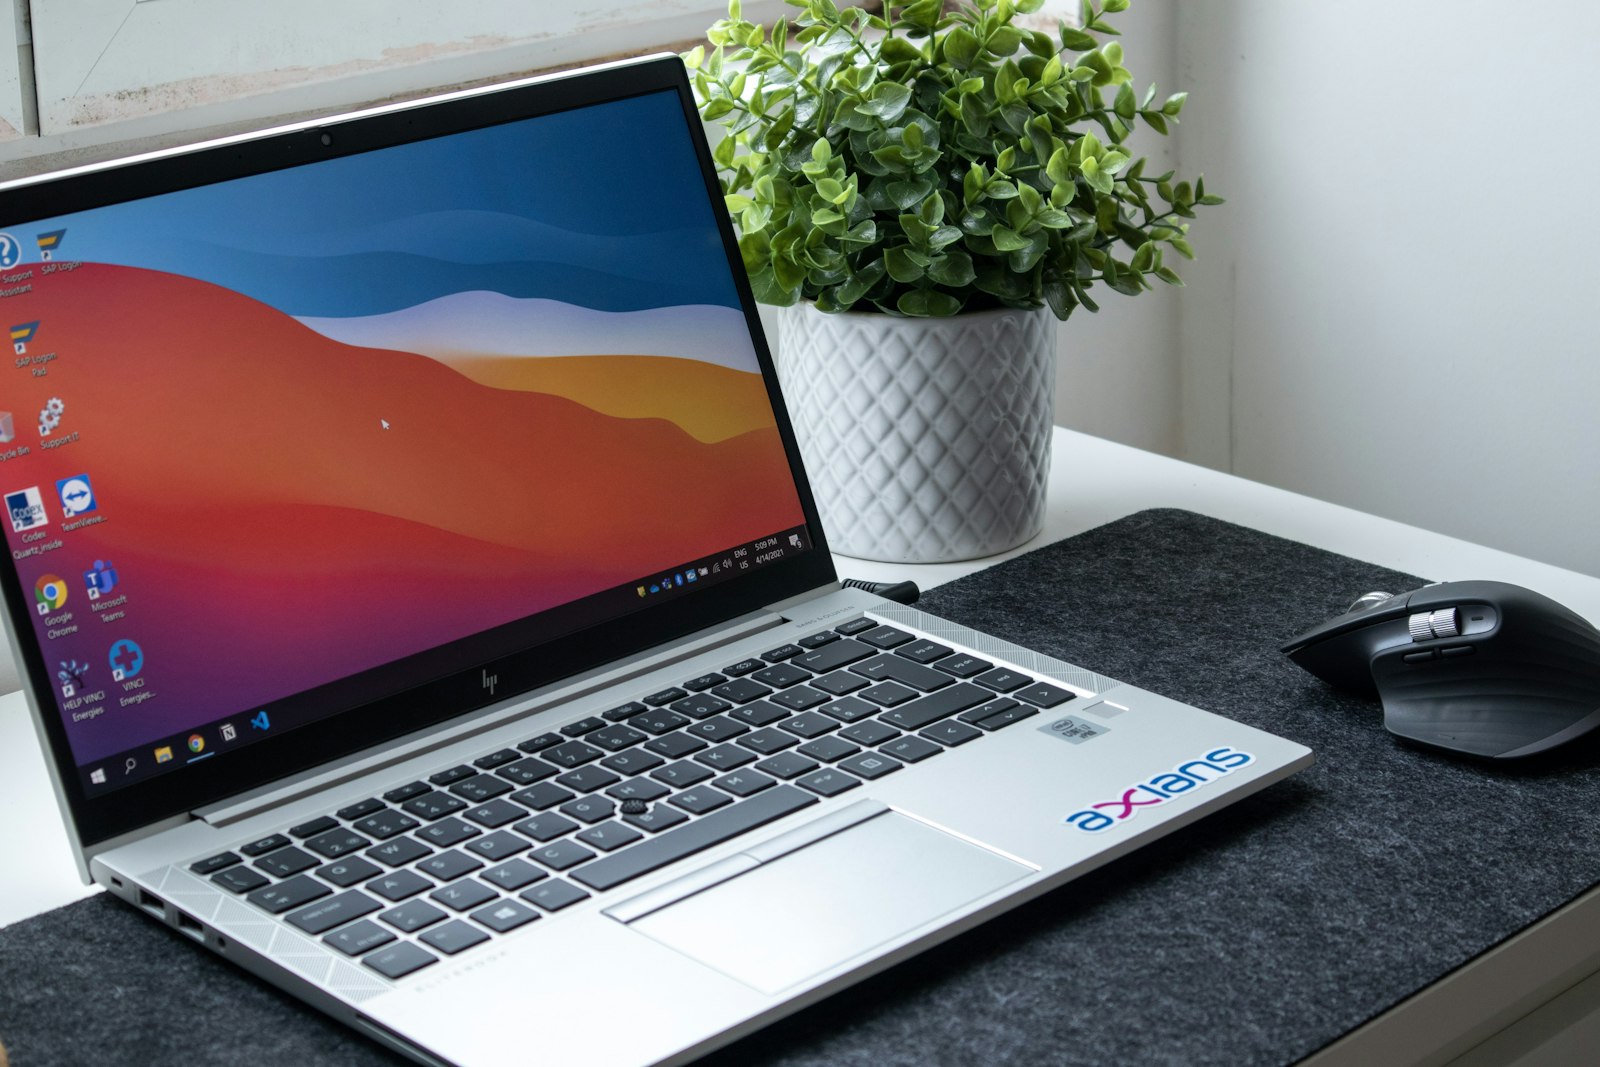
Windows has two kinds of VPN — know which one you have
Kind one: the VPN built into Windows — under Settings → Network & Internet → VPN. This is for connecting to a company VPN or one you configure by hand with older protocols (IKEv2, L2TP, SSTP). You type in the server address and credentials yourself. If work handed you a VPN, it's usually this kind.
Kind two: a VPN app you install (like TUKTUKVPN and most consumer VPNs) — these create their own virtual network adapter (on Windows, usually Wintun or TAP) and funnel all of the machine's traffic through a tunnel on that adapter. Here's the part that trips people up: this kind of VPN does not appear in the Windows Settings → VPN list, because it doesn't use the built-in Windows client — it runs its own tunnel. So you turn it on, off, and change it from inside the app only.
Almost everyone searching for "change VPN on PC" is using kind two, so the sections below assume that.
How to turn on a VPN on Windows
Turn it on from the app: open your VPN app and click connect. The first time, the app asks for administrator rights (UAC) so it can install a background service and create the virtual adapter — approve it once. After that, connecting and disconnecting won't prompt again. Once connected you'll see a new adapter appear under Control Panel → Network Connections (e.g. "Wintun" or the app's name).
With TUKTUKVPN, connect from the app — it picks the server and protocol that suit your current network automatically, which the Windows switch can't do.

How to change a VPN on Windows
"Change VPN" means two different things:
Change the server or country inside the same app — pick a new server from the list and connect. The app drops the old connection and brings up the new one for you. No need to disconnect first.
Switch from one VPN app to another — unlike iPhone, Windows does not force you down to a single tunnel. If two VPN apps run at once, both fight over the machine's routing, and the result is a flaky, on-and-off connection. So before switching to another app, click disconnect in the old one first, then open the new one.
When you retire an old VPN app for good: a clean uninstall removes the background service and virtual adapter, but some apps leave a stale Wintun/TAP adapter behind in Network Connections. Check Control Panel → Network Connections — if you see an old app's adapter and you're sure you're done with it, right-click → Disable, or remove the driver. These leftovers do nothing while the VPN is off, but they add confusion when you're troubleshooting.
How to turn off a VPN on Windows
- From the app: click disconnect — the cleanest way. The app tears down its routes and removes its own filters correctly.
- Built-in Windows VPN: Settings → Network & Internet → VPN → select the name → Disconnect.
In the normal case, that's it. If the internet dies when you turn it off, read the next section — it's usually not a bug, it's a kill switch doing its job.
No internet after disconnecting a VPN on Windows — the real cause and fix
Symptom: you turn the VPN off (or close the app) and all traffic goes silent; turn the VPN back on and the internet returns.
The number-one cause is a kill switch. Most Windows VPNs use a system called WFP (Windows Filtering Platform) to place kernel-level "filters" that block any traffic not going through the VPN tunnel, so your real IP can't leak if the connection drops. The trouble starts when the app exits uncleanly (it hangs, you End task it from Task Manager, or the power cuts) — the filters are still in place but there's no tunnel to pass through, so the internet is fully blocked.
Fix, in order:
- Open the app and disconnect properly — a well-built app removes its own WFP filters on disconnect (ours ties the filters to the service lifecycle, so stopping the service removes the filters with it). This is the correct fix. Don't use End task.
- Restart the app's service: press Win+R, type
services.msc, find the VPN app's service, and Restart it — the service clears any stuck filters on startup. - Flush stale DNS: open Command Prompt and run
ipconfig /flushdns— the "half working" case (can't load sites but ping works) is usually stale DNS. - Last resort: reboot — Windows won't reload the stuck WFP filters, and the internet comes back for sure.
Worth knowing: if your app has a kill-switch toggle in settings, turning it off means the internet won't cut when the VPN drops — but you trade that for the risk of your real IP showing during a drop. Choose based on what you're doing.
Slow or flaky internet after switching VPNs
If it's not fully blocked but slow or stuttering after a switch, it's usually a stale route or DNS. Run ipconfig /flushdns, then disable and re-enable your Wi-Fi/Ethernet adapter once (Network Connections → right-click the adapter → Disable, then Enable) to force Windows to rebuild its routing. If it's still flaky, try a different protocol in the app — some networks (office/dorm) throttle certain protocols, and switching usually clears it.
Should you leave a VPN on all the time on a PC?
It depends on the job. If you use it for privacy on public networks or to reach a service that needs a VPN anyway, leaving it on is fine — modern protocols like WireGuard have very low idle overhead, so the day-to-day speed hit is barely noticeable. If you only use it occasionally, turn it off when you're done. The one thing to remember: if you set auto-connect, don't be surprised when it reconnects itself — it's doing what you told it to.
If you want a Windows VPN that handles all of this in one app — automatic server and protocol per network, a kill switch tied correctly to the service (clean every time, no stranded "no internet"), and leftovers removed on uninstall — TUKTUKVPN has a Windows app you can download. Sign up and try it; your first purchase is covered by a 30-day money-back guarantee.